Introduction to Photoshop
Later on in our project, we're going to be producing a digital pack using Adobe's photoshop so to prepare, we will need to be familiar with the features and techniques to enhance our cover. Today, we've spent the first lesson taking photos of ourselves using three point lighting technique.
An introduction to 3-Point lighting:
Three point lighting is crucial when editing the picture in photoshop, shadows wouldn't appear therefore the picture will look bright and efficient to detail.
There are three main lights to consider when doing this technique:
1)Key light:
This is the main light as it's from one angle, it's also the most powerful light and gives a one dimensional effect to the face.
2)Fill:
Known as the secondary light, usually placed on the opposite side of the key light. This is crucial because it fills the shadows created by the key light. The fill of light will be softer.
3)back Fill:
This is placed behing the object/person, the main purpose is to provide the definition around the subject's outlines. This helps separate the subject from the background and provide a three dimensional look.
Width-11cm
Height-11cm
Resolution-300

We then moved on to editing our photos. This meant choosing the most suitable photo, inserting text taking good consideration of the font size,font,placement as well as colour. Adding any filters/advanced effects.
Below is my edited photo, which I've spent the rest of the lesson producing...
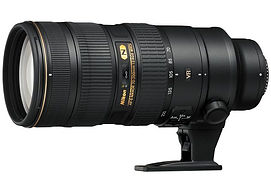
These types of lenses were replaced with the normal/average lens. Each of them have their own jobs:
Zoom Lens
Prime Lens
Range from 15-55mm
Has more than one focal length.
Range from 105mm+
Only one focal length which is good at capturing resolution.
Page Layout settings:
